Sunday, August 30, 2009

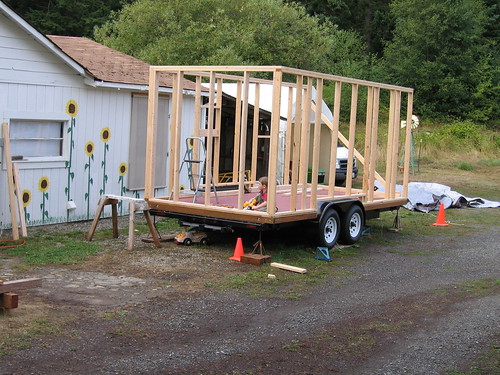
It is airy, but it is up!


IMG_5057
IMG_5054
IMG_5058
IMG_5046
IMG_5062
On my time off I framed the first two walls and put one up. Then I went to work and came home to four walls and a roof framed. My dad and uncle were busy. Then they framed up the loft today. Yay for progress. I just need to frame a couple more windows and then it is ready to be sheathed. Also, kudos to my sister who made me this fashionable work belt.

Monday, August 24, 2009

Invitation

I will be starting to frame my walls tomorrow. I have Tuesday, Wednesday, and Thursday off so anyone is welcome to come by and help or watch. You don't need skills... who said I had any? You can expect more pictures and progress in the next week though.

Friday, July 3, 2009

Floor Finished!

The floor is done. Dad added more fasteners to the frame and it feels really solid. I spent a day cutting styrofoam insulation and filling in the cracks with expanding foam. That stuff sure is sticky! After a few other options were brought home, we decided on sanded certified 3/4" plywood for the sub-floor. I put a couple coats of floor paint on it to help keep it nice and protected through the process. The blue foam stapled to the corners is there to keep the trailer from wearing holes in the nice tarp.

IMG_4443

IMG_4477

IMG_4464

IMG_4463

IMG_4447

The new "current" plan

I liked my old plans, but I wanted more weight on the back of the trailer. Switching the end the loft is on required some general shifting.

IMG_4467

IMG_4465

IMG_4469

IMG_4470

Thursday, June 11, 2009

Floor: Part 1

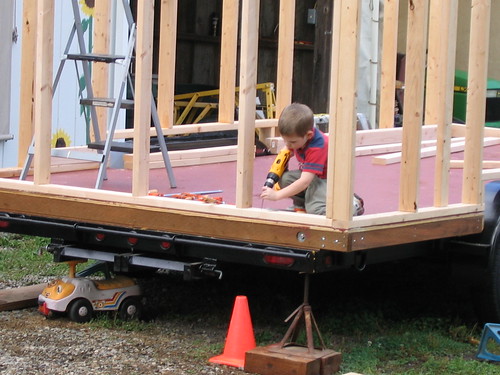
Monday, Dad and I took a crack at the floor. We got as far as framing the floor and bolting it down to the bed of the trailer and even through some of the angle irons. It is all 2x4 24" O.C. and it is exactly 8' x 16'.
IMG_4036
IMG_4025
First we framed up the longer end, then the shorter end, and finally the middle.
In the process of trying to make the whole thing level, we discovered that the trailer frame itself was high centered near the wheel wells. Both ends needed to be shimmed some so that it would start out closer to level. My dad kept on shaking his head. Shimming, apparently isn't very fun. The picture shown doesn't actually demonstrate how we actually shimmed. Plus there is more shimming to do before adding the insulation and the sub-floor.
IMG_4033
IMG_4037
I'm now up in Sitka for two weeks so not much will be done for a bit.
Getting Materials

I guess I won't start building until I have some materials. So I went and collected everything needed to build the floor.
2x4's treated and untreated
screws
1/2" bolts, nuts, fender washers, lock washers, and brackets
polystyrene insulation and spray in filler
3/4" t&g plywood
IMG_3959
The 4x8 sheet goods fit in the back of my mini-van!
IMG_4024

Tuesday, May 12, 2009

Tumbleweed Workshop in Vancouver


My dad and I went up to the Emily Carr Institute on Granville Island in Vancouver, BC for the how to workshop. We just did the first day about building tiny houses, while others stayed for the second day covering design as well. The information was probably more useful for me than for my pops since he has built many things before. It would be a bit difficult to condense into a posting, so I won't. Throughout the entire process I've been sure several times about my floorplan. I keep changing my mind, but I think that the one I have right now will do the trick. The important thing that it bears in mind is that I will be framing 24" on center. So all my windows conveniently fit inside of this framework and I am happy with it. Now I need to draw up my framing plans so that I know what my lumber needs are. Then I'll know what it will cost to get it framed and weathered in. I can't quite imagine doing all this for a much larger project. Oye! At any rate plans should be finalized and wood should be bought before I go to Sitka in June.